Layer Masks
We covered Layers previously, now let’s dive into Layer Masks, one of the handiest tools in your digital darkroom toolkit.
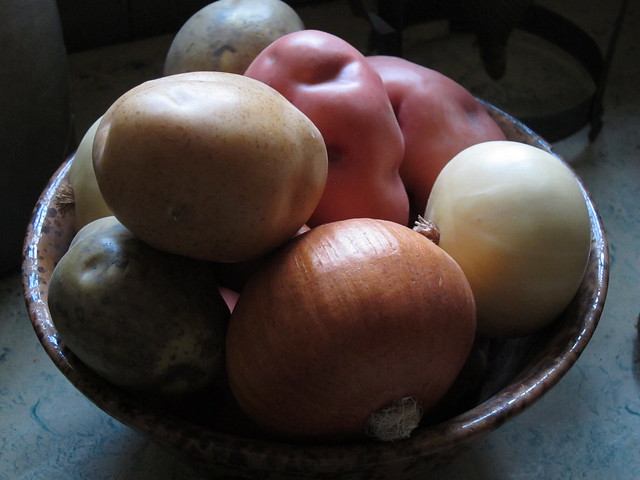
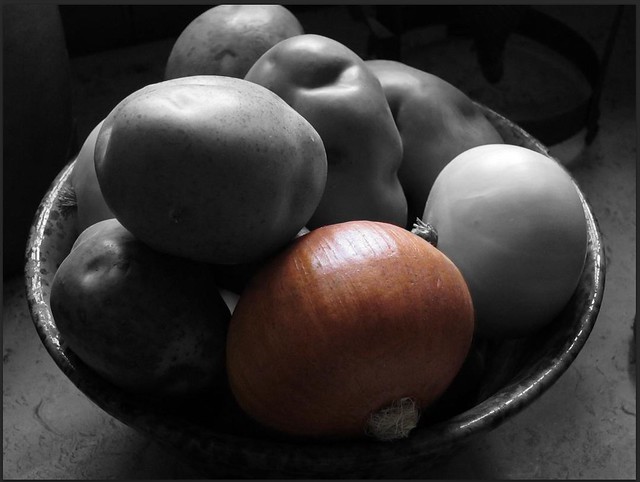
Let’s start with this colour photo, a still life taken at Benares House Museum, Mississauga, Ontario.
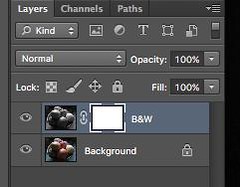
Now let’s convert it to black and white on a duplicate layer, but don’t yet flatten the layers. Click on the top B&W layer to make it active then click on the Layer Mask tool (as shown in Photoshop):
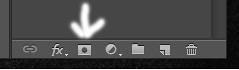
and click on the white Layer Mask on the B&W layer to make it active:
Almost there. Check the Background/Foreground Colour Setting to make sure that the foreground colour is set to black and the background colour is set to white.

Then select the Brush tool and we’re ready to work some magic on the Layer Mask:
![]()
Size the circumference of the brush ([ and ] in Photoshop) go to the image on the screen and paint a wavy line through the foreground onion:
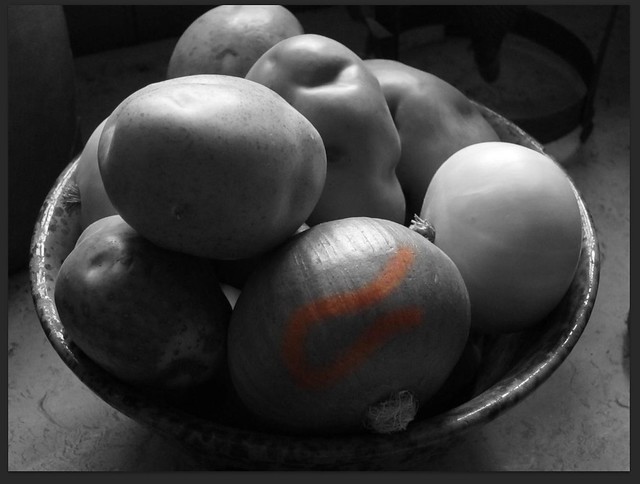
You can see a record of this line on the layer mask:

What just happened? What we’ve done is remove the opacity where we brushed the onion, allowing the lower, colour layer, to show through. We’ve done this selectively rather than changing the opacity on the entire B&W layer and if we continue to paint the onion we can create a black and white image with an area of colour in it:
Because it’s a bit finicky to do the edges of the onion, you may have uncovered more colour than you intended (I did). To touch that up, go to the Foreground/Background Colour settings and click the curved arrows, reversing the black and white settings. Then with the foreground colour set to white, you can carefully erase your mistakes and return the opacity to the layer. A Black brush removes opacity; a White brush restores opacity. Hint: for fine work around the edges resize the brush to a tiny brush and increase the size of the image onscreen to 200%. This makes it easier to make a tidy edge.
As you can imagine, the Layer Mask tool opens a large range of possibilities that are exciting for both colour and black and white photography.
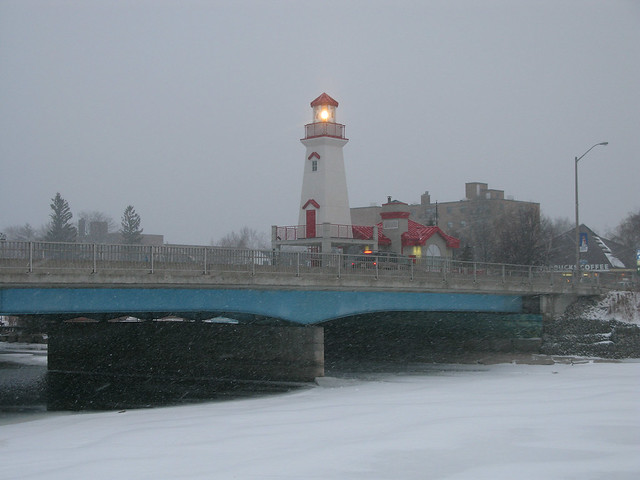
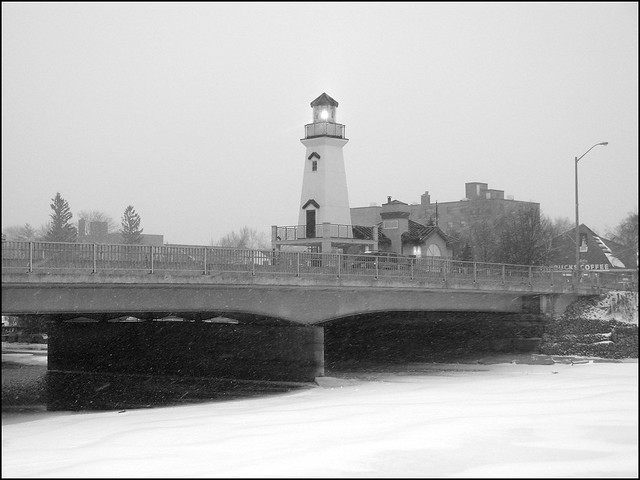
Next let’s look at how we can use the Layer Mask for purely black and white work, starting with this image of the Port Credit, Ontario, lighthouse and bridge in the snow:
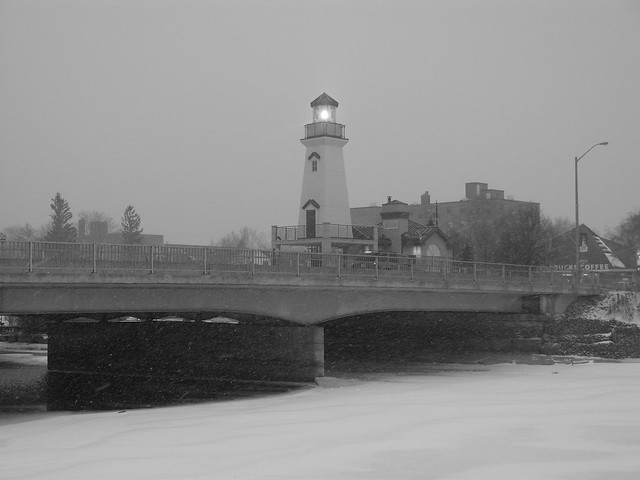
Converted to black and white, the image is a bit grey and brooding and doesn’t convey the lightness of a snowy day.
This image would look better as a higher-key image, so let’s work on a duplicate layer and lighten the image overall:
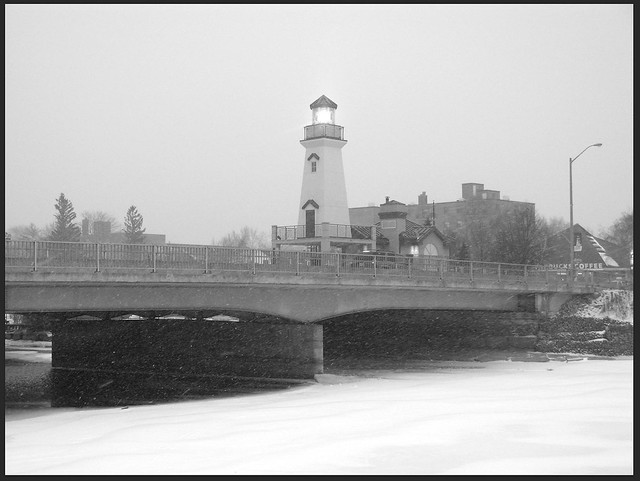
This has a better overall feel, but it’s lost a bit of contrast and the lighthouse light is now overexposed. So, with the aid of a Layer Mask on the background copy let’s restore some of the darkness under the bridge as well as taming the lighthouse light.
I also restored some of the darker shades to the lighthouse door and trim as well as the roof of the adjoining building before flattening the layers.
Note: for even more subtle effects, you can lower the opacity of the brush tool itself, which is normally at 100%. If you wish to restore just a bit more of the underlying image, try setting the brush to 50% or 25% or even lower.
This is a fairly subtle use of the Layer Mask but it demonstrates that you can use masking to do the equivalent of very exact burning and dodging. Experiment with the Layer Mask and Brush until you feel comfortable using them and you’ll have added a powerful, creative option to your post processing.
Next time, how to create vignetting on B&W photos.